This week I'm cleaning up on some chores I've put off until winter.
A-Frame Trellis Construction

The tomatoes have grown well over the last several years, but have continuously brought down their trellis system constructed haphazardly of nylon netting, plastic stakes, and scrap lumber. August brings a marathon truss and tie-back session as the vines bring down the structure.
This year, I've planned for some much-needed stability. Three A-frame trellises will support the tomatoes.
Tool List:
saw
screwdriver
power drill, 1/8" and 5/16" drill bits
measuring tape or ruler
hex-socket driver
pliers or open-ended wrench
Parts List (one trellis):
2"x 2"x 6' non-arsenic treated qty 4
2"x 2"x 2' non-arsenic treated qty 11
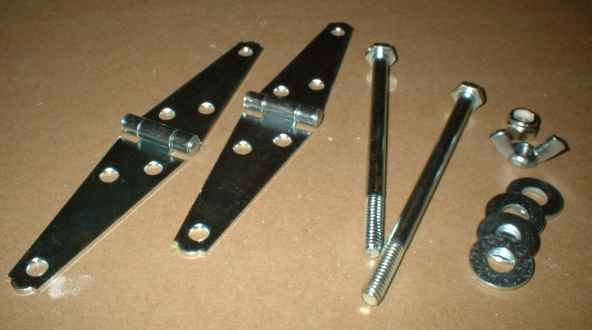
3" strap hinge, galvanized qty 2
1/4" x 4" machine bolt, galvanized qty 2
1/4" locking nut, galvanized qty 1
1/4" wing nut, galvanized qty 1
1/4" flat washer, galvanized qty 6
1" wood screws (for attaching hinges)
3" or 3 1/2" wood screws (for assembly)
For those not familiar with purchasing lumber, 2"x 2" typically comes in 8-foot lengths. You'll want to buy 6 boards 2"x 2"x 8' each and cut them as follows:
Measure and cut 2 feet off four boards. The 6-foot section will be a leg, and the 2-foot section will be a cross-piece. Measure and cut the remaining boards into 2-foot sections for cross-pieces and 18" to 24" for the brace. Length of the brace depends upon your preferences.
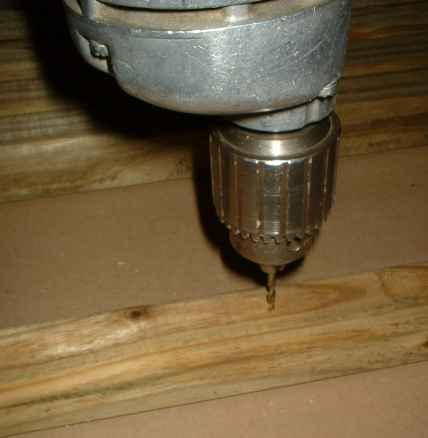
Mark a line at every 'rung' point on the four legs, and drill a 1/8" pilot hole at the midpoint of the wood at every mark. This will help prevent the wood from splitting.
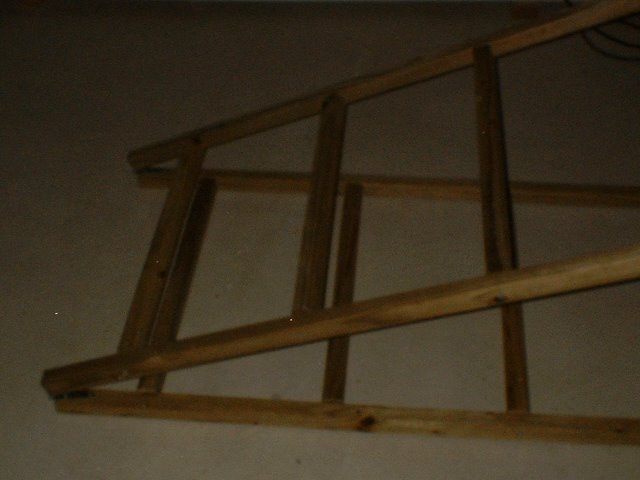
Make 'ladders' by attaching five 2' sections between two 6' sections, using the 3" wood screws. I chose to mount the sections 12" on center, starting 6" from the top end. This will allow 18" at the bottom to sink partially into the dirt, and give room around the base for weeding and plant access (most plants won't require trellising below 18" height anyhow). It might also remind me to trim off lower branches of the tomatoes, since I have a bad habit of neglecting this.
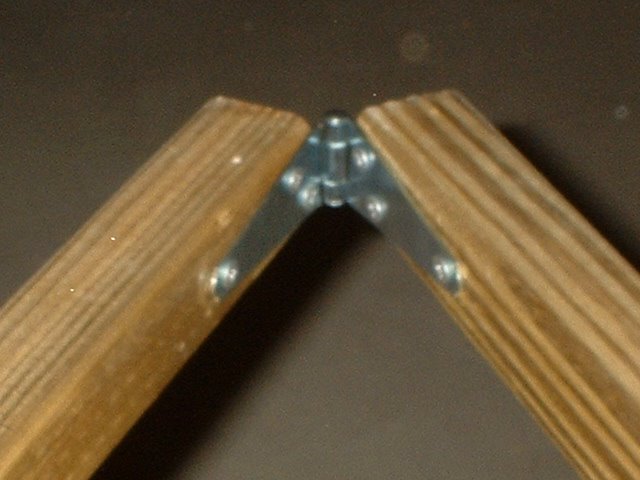
Once both ladders are created, join them using the strap hinges. Attach the hinges to collapse the ladder flat (as shown in the photo). Again, don't forget the pilot holes to prevent splitting.
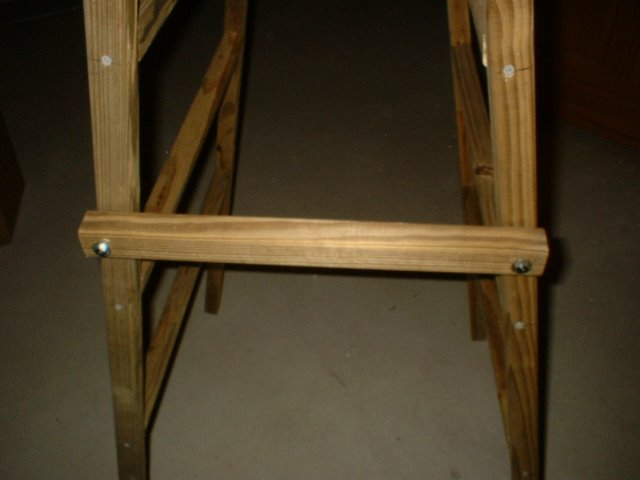
Then add the brace to the side of the ladder. This should allow the ladder to fold flat or lock open. The brace will add support to prevent your frame from collapsing. First, drill two 5/16" holes in the side of the ladder, 3' from the end.
Also drill two 5/16" holes in the brace. These should be on each end, 3/4" from the edge of the brace. These will be slightly larger than the bolts, allowing free movement when you wish to collapse the trellis.

Assemble the pieces on to the ladder. Use a washer next to the wood at every point, including between the two pieces of wood.

I suggest putting the wing nut to the interior of the trellis, to prevent snags as you walk past it.

The finished brace:

No comments:
Post a Comment